01
Start with the smallest label
The smallest intended label and the densest intended data are usually the better starting point for a print test than a large, simple sample.
Readiness Library
A practical print-and-scan checklist for small brands and warehouse teams deciding whether the current label printer fits a 2D barcode or variable-data workflow.
Last reviewed: July 15, 2026
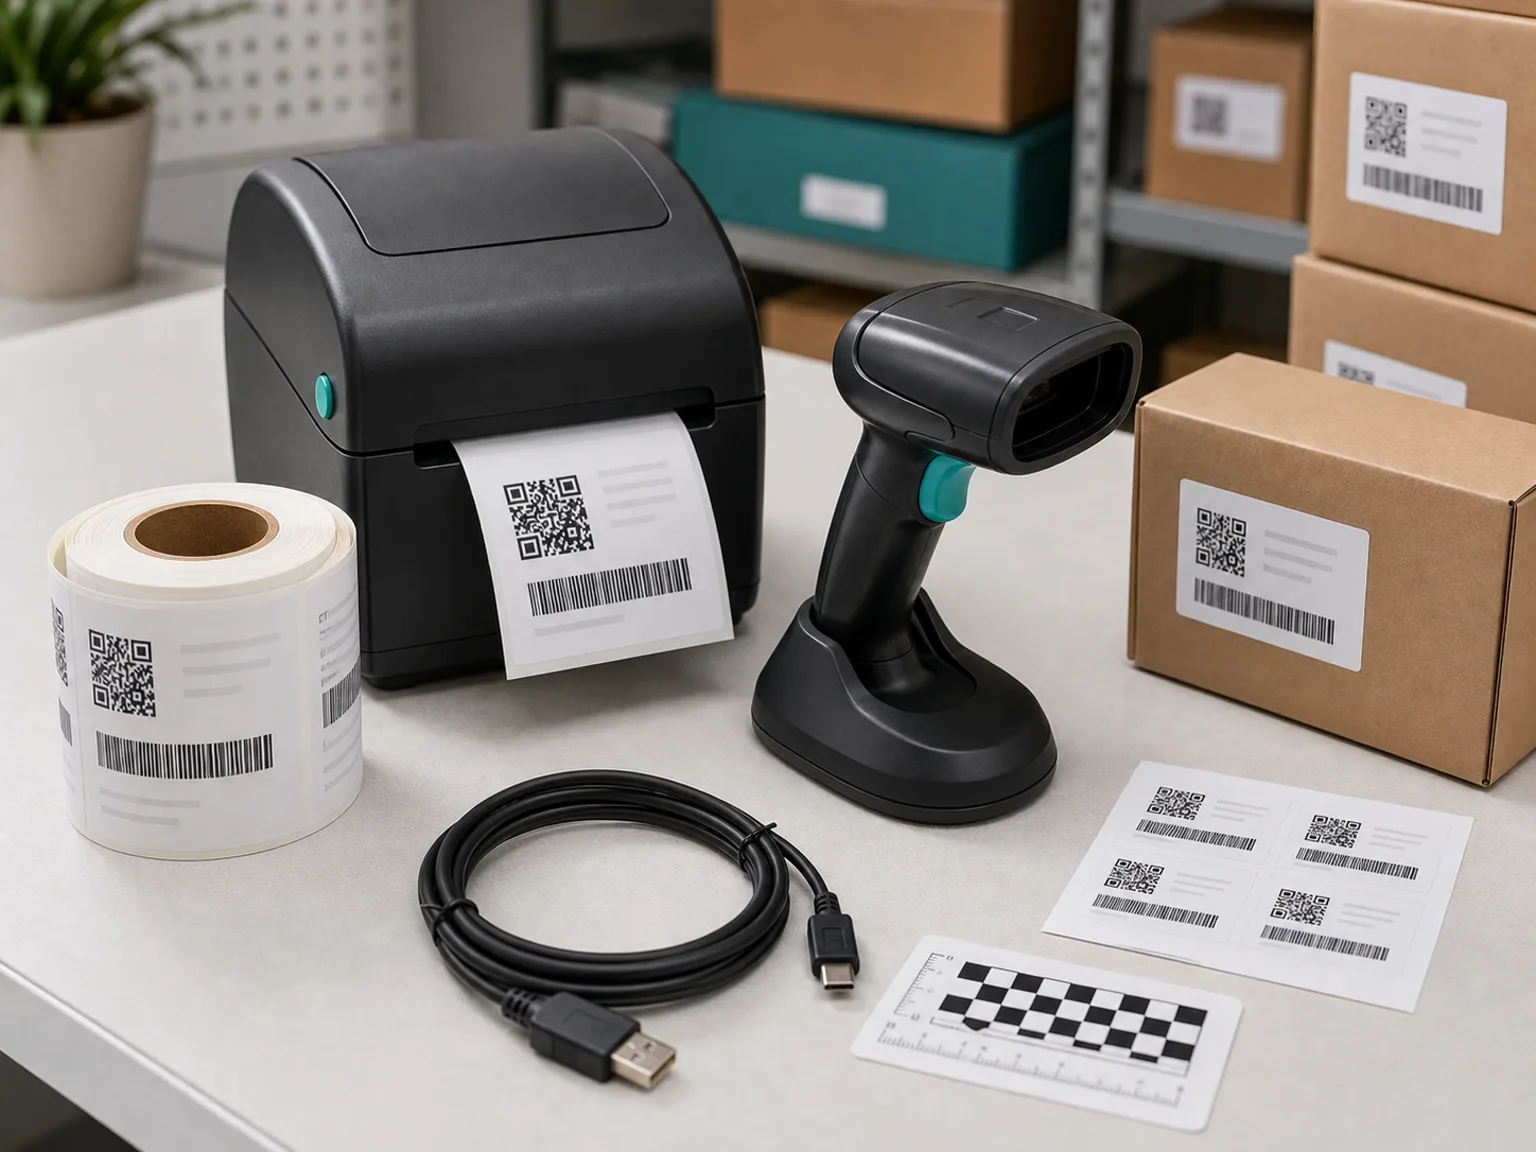
Short answer
A label printer can produce a 2D symbol only if the final label remains readable in the actual operating conditions. Resolution, label size, encoded data, print method, media, printhead condition, scanner capability, and software output all matter.
For small teams, the strongest first move is a representative print-and-scan test. Use the smallest intended label, realistic variable data, and the scanner and software that will be used after the labels leave the desk.
This comparison is a planning aid, not a universal specification. Use a physical label test before buying or replacing equipment.
| Situation | What to check | Likely planning path | Test before deciding |
|---|---|---|---|
| Large, simple 1D or 2D labels | Label size, low data density, existing printer condition | Retain and verify | Print a sample at normal speed and scan it in the workflow |
| Small label or dense 2D symbol | Module size, 203 vs 300 dpi, print darkness, contrast | Test higher-resolution output | Use the intended data and the smallest label |
| Lot, batch, expiry, or serial data | Data source, template fields, label timing, operator handoff | Pilot variable-data workflow | Run multiple changing data values through the actual template |
| Higher daily label volume | Duty cycle, media capacity, connection, support process | Review printer class | Test an ordinary production batch, not one label |
| Warehouse or exposed environment | Material, abrasion, heat, moisture, handling | Review print method and media | Scan after the label experiences representative handling |
Print-and-scan workflow
01
The smallest intended label and the densest intended data are usually the better starting point for a print test than a large, simple sample.
02
203 dpi and 300 dpi are printer-resolution options, not automatic quality grades. The required symbol size, encoded data, material, and scan test determine which is appropriate.
03
Direct thermal labels can fit short-lived workflows. Thermal transfer may suit labels that need a different durability profile. Confirm the material and environment before choosing.
04
Lot, batch, expiry, serial, and order data can change the label template and the symbol density. Test the actual data source, not a fixed placeholder.
05
Speed, printhead condition, media, darkness, label rolls, and operator settings can change a label that looked fine during a single desk test.
06
A barcode must scan at the intended distance and pass the intended data to the receiving, inventory, packing, or POS workflow.
Enter your SKU count, label volume, current printer, barcode type, batch or expiry needs, budget, and timeline to map a general starter path.
203 vs 300 dpi
A 300 dpi desktop printer can give smaller dots than a 203 dpi version, but the practical decision is still about the final symbol. Zebra's ZD421 technical materials, for example, list both 203 dpi and 300 dpi options. That makes resolution one input to test alongside label size, media, print speed, and encoded data.
Replacement decision
Consider a different printer class when the current device cannot produce a reliable representative label, daily volume regularly overwhelms the workflow, the required material does not fit the environment, or the software and connection path cannot support the intended label process.
Related planning
Use the 2D barcode scanner checklist to verify the device and decoded data path. If you are comparing common general-purpose scanner classes, read the DS2208 vs Voyager XP 1470g guide.
Teams adding changing label data should also review the lot, batch, and expiry labeling guide before creating a new template or hardware shortlist.
No. Printer resolution should be tested against the intended symbol size, encoded data, label material, and scanner workflow. A higher dpi specification does not replace a representative print-and-scan test.
It may be able to, depending on the symbol, data density, label size, media, and printer condition. Test the actual label with the intended scanner rather than relying on the dpi number alone.
The right method depends on label life, handling, surface, temperature, exposure, and workflow. Review the material and operating environment before deciding.
Yes. Resolution, printhead condition, darkness, speed, media, symbol size, contrast, and encoded data can all affect scan performance. The scanner and printer should be tested as one workflow.
Not automatically. First print a representative label, scan it in the real workflow, and record the result. Replacement is a planning option when the current printer cannot produce reliable labels for the intended use.
Prepare the printer model, current media, label size, daily label volume, barcode type, variable-data needs, scanner model, software, budget, timeline, and a sample use case.
Send the printer model, label size, daily volume, barcode type, current scanner, workflow, budget, and timeline once for an independent general readiness path.
Disclaimer
This site is independent and not affiliated with GS1. It provides educational readiness guidance only, not legal, compliance, marketplace, retailer, or GS1 approval advice.